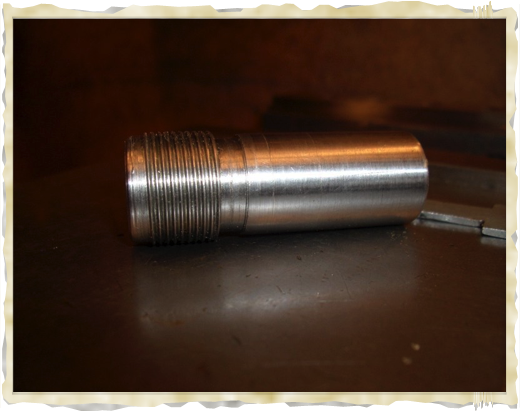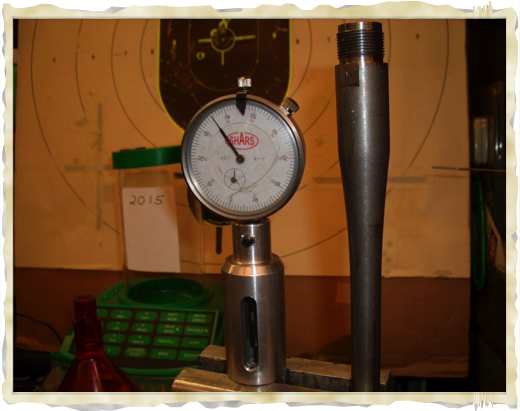
Actually a Chevy valve stem height gage I made that is a perfect tool for comparing headspace on a Ruger Mini-14 along with go/no-go gages and a depth mic. Indicator is .001 inch
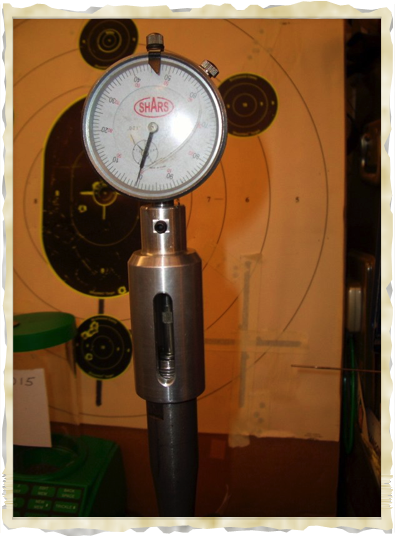
Shown here on a used Mini-14 barrel with a no-go gage inserted and indicated as a reference for cutting a chamber. Can’t be to careful with this process.
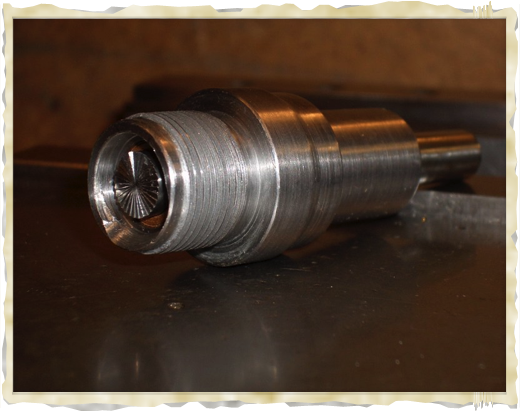
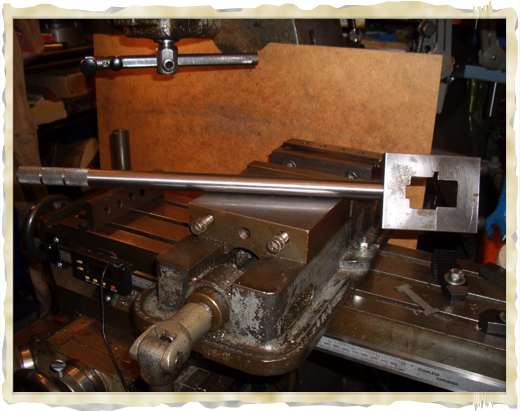
Bolt truing fixture w/cutter installed. Couldn’t find tools for Mini-14 so fabricated some. The extractor relief is not critical but I was practicing for the cut on the Krieger barrel.
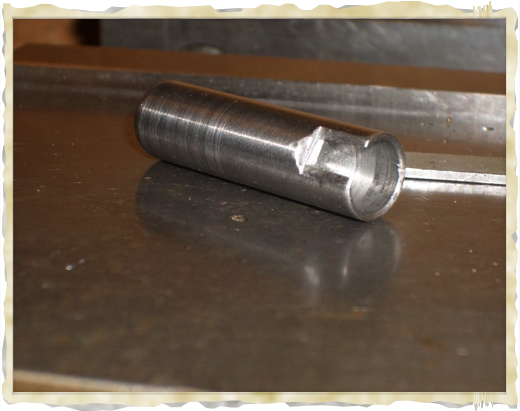
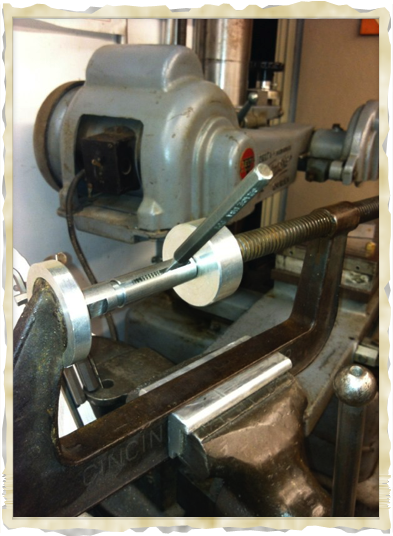
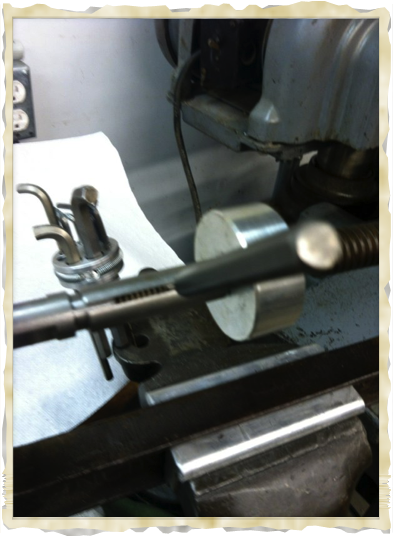
The stub on the bolt is difficult to grab, so I made this light press-on handle to use while lapping the lugs in. Notch is to clear receiver while lapping. Made from “drill rod”
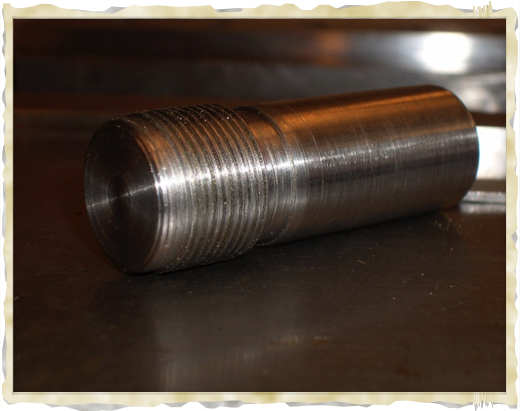
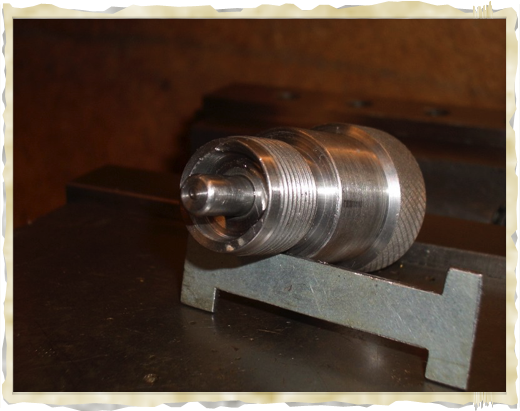
This is used to true the receiver. Threads and shank were cut without removing from lathe so should be accurate. Threads are nice and tight to.
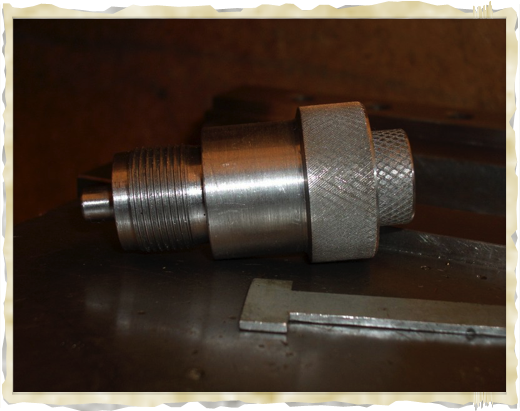
Relief behind threads allows for cutting all the way to the barrel opening in the receiver.
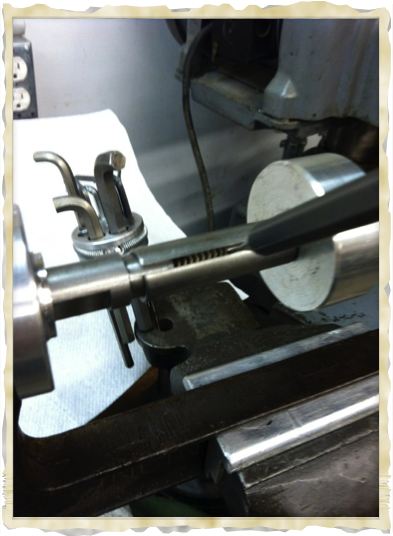
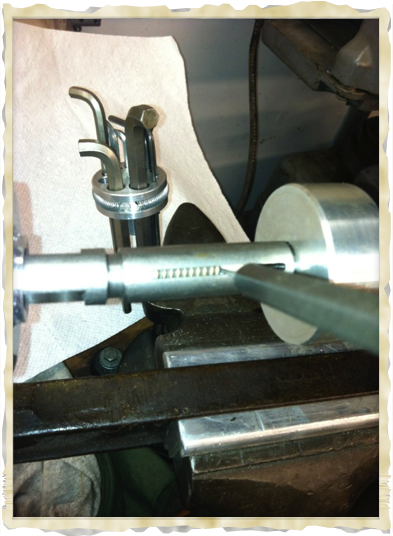
Spring loaded bolt lapping tool puts pressure on the bolt while lapping recoil lugs. Used stiff spring for adequate preload.
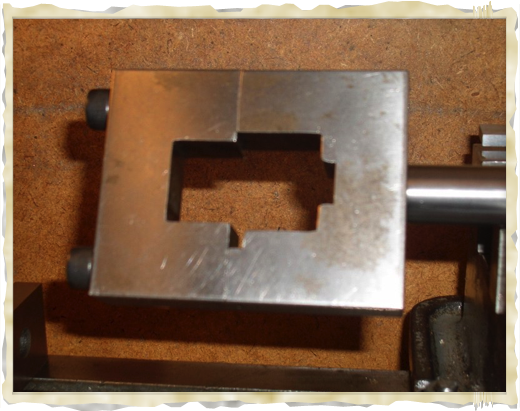
Extractor cut shown,
but again not required to lap lugs.
Extractor cut shown,
but again not required to lap lugs.
Ruger Mini-14 Action Wrench. Fits Ranch model too. Never got to weld handle on as torque required is low and is not necessary but is press-fit only
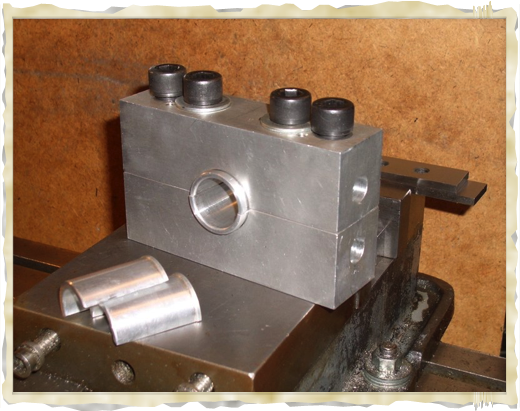
Action Wrench with
15 inch handle.
I will weld it some day if the opportunity arrises.
Action Wrench with
15 inch handle.
I will weld it some day if the opportunity arrises.
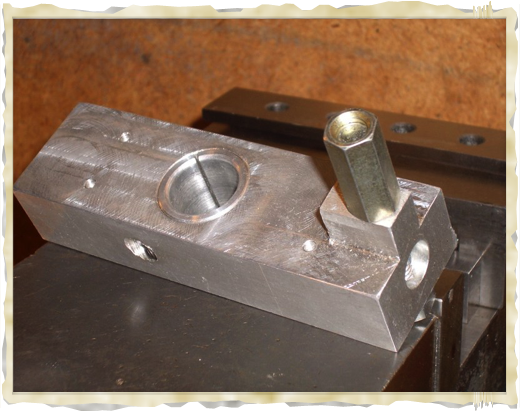
Barrel vise for Mini-14’s.
Replaceable bushings are.905 inch for original Mini and 1 inch for an upgrade. It works great with using 2 bolts. Used scrap material, thats why the extra holes.
Barrel vise for Mini-14’s.
Replaceable bushings are.905 inch for original Mini and 1 inch for an upgrade. It works great with using 2 bolts. Used scrap material, thats why the extra holes.
Needed a special drive dog to turn the new barrel in the lathe so made one that the bushing can be replaced. The dog has the extra material on the left to reduce counter weight imbalance.
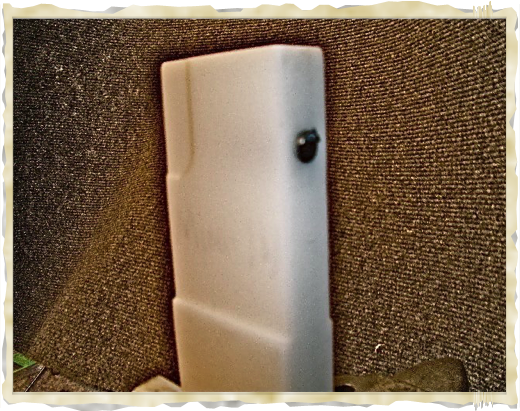
Latest Vise Block is for the Ruger Mini-14
Close up of Mini Vise Block.
Not available.
May require final fitting.
This is done w/o charge if local.
Close up of Mini Vise Block.
Not available.
May require final fitting.
This is done w/o charge if local.
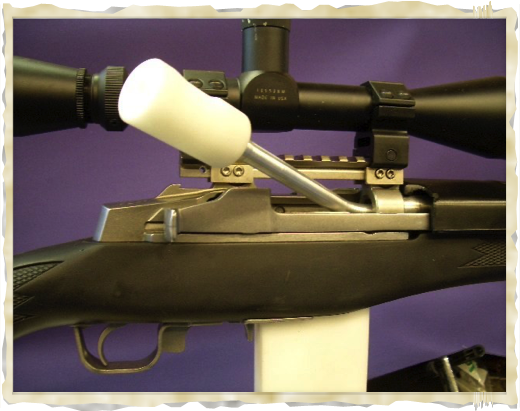
Mini bore guide to help keep fluids out of the mag well area while using a Bore Snake or other “pull through” bore cleaning systems.
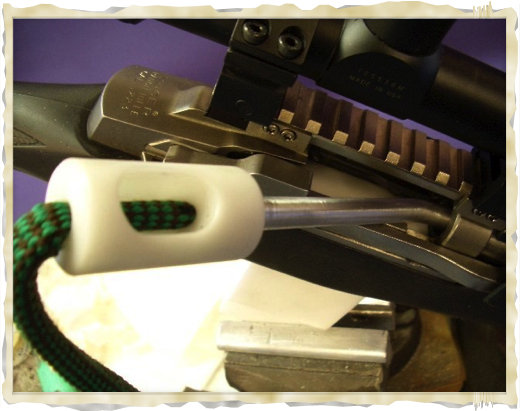
Handy to use.
Still working on final design.
I use the “Bore Snake” and the “Otis” pull through cleaners.
Handy to use.
Still working on final design.
I use the “Bore Snake” and the “Otis” pull through cleaners.
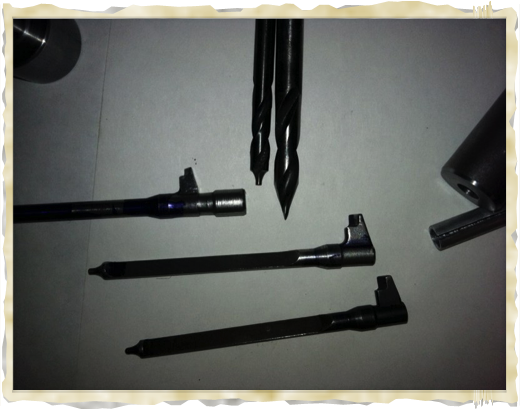
Mini 14 firing pins
Hard to hold small items with odd angles and shapes.
Mini 14 firing pins
Hard to hold small items with odd angles and shapes.
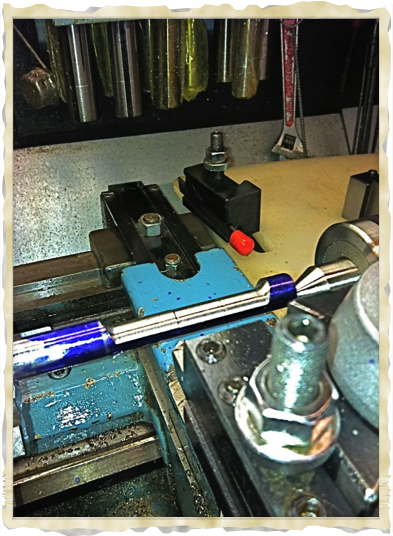
Shows offset turning to begin the multi step process to make a Mini 14 or 30 firing pin.
Raw material and starting the offset turning.
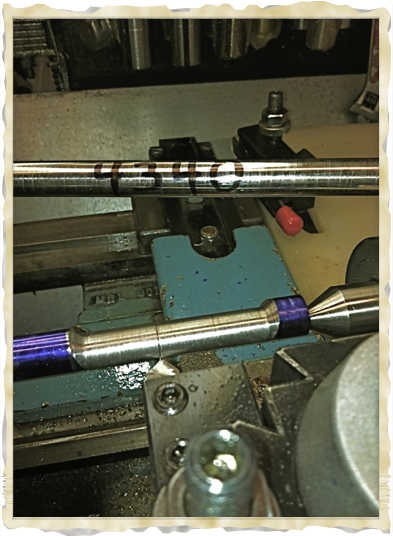
Firing pins in the making.
4340 on the left and 17-4 PH on the right.
Firing pins in the making.
4340 on the left and 17-4 PH on the right.
Early Mini 14 firing pins
Latest pins are now in final stage of development.
Next will be 17-4 PH stainless steel hardened to H900.
Early Mini 14 firing pins
Latest pins are now in final stage of development.
Next will be 17-4 PH stainless steel hardened to H900.
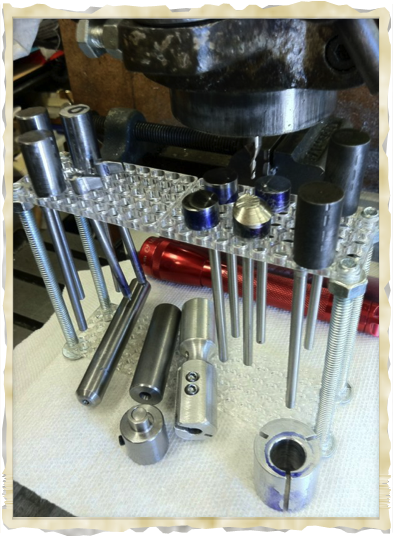
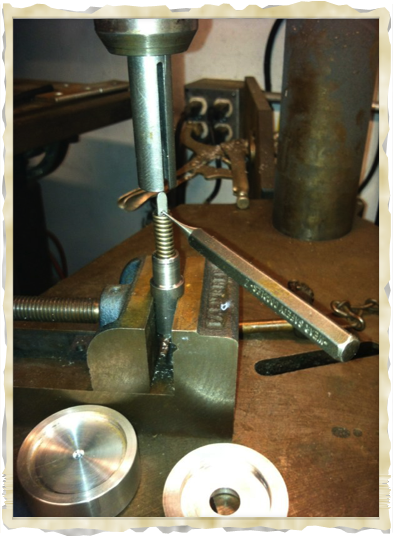
Hammer spring installation jig.
Easy to use and keeps from launching into oblivion.
Here shown in a drill press which is the preferred method.
Hammer spring installation jig.
Easy to use and keeps from launching into oblivion.
Here shown in a drill press which is the preferred method.
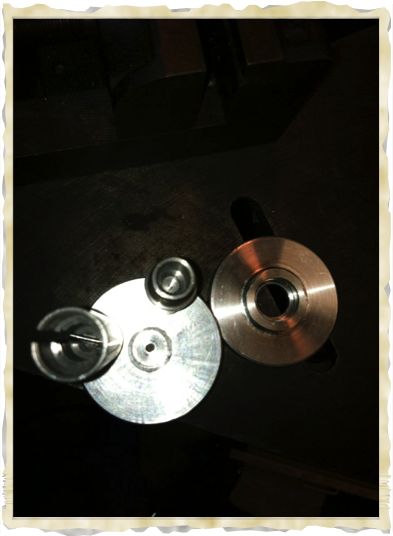
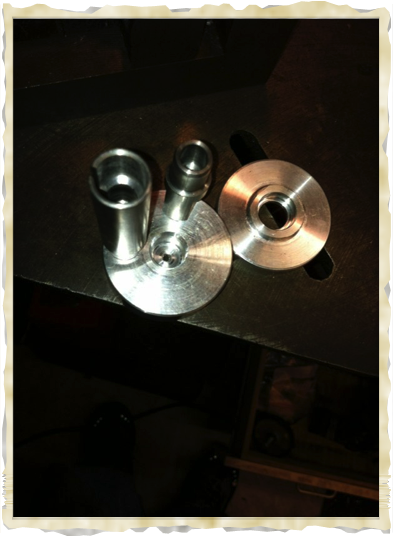
Individual pics to show different pieces
Angle shot for reference.
Using a c-clamp.
This can be used anywhere there is no drill press handy.
Using a c-clamp.
This can be used anywhere there is no drill press handy.
Another angled pic.
Large discs are a snug fit to the clamp for stability.
Another angled pic.
Large discs are a snug fit to the clamp for stability.
Individual pics
Individual pics
Individual pics
Individual pics

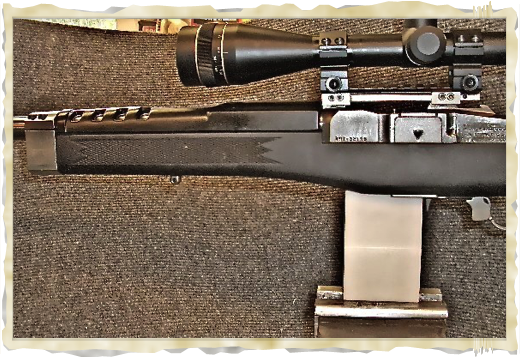
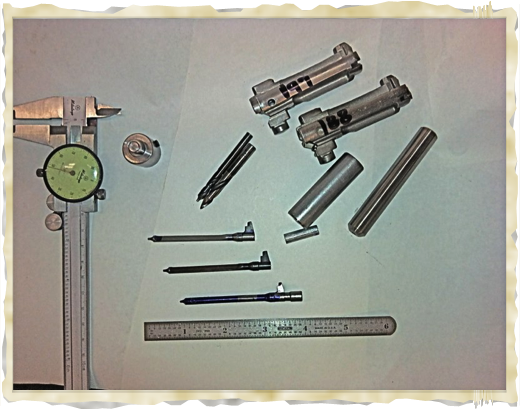
My hobby dovetails together with the shooting sports. I have recently begun upgrading a Ruger Mini-14 for the sole purpose of improving accuracy. Couldn’t find tooling so embarked on the quest to fabricate a few necessary for the project.